> ## Documentation Index
> Fetch the complete documentation index at: https://docs.open.cx/llms.txt
> Use this file to discover all available pages before exploring further.
# Zapier
> Open is integrated with Zapier! You can automate multiple Open actions and triggers using zapier.com and using OpenCX app.
This guide shows you how to create your own zaps using Open's Action and Triggers.
A Zapier zap consists of a Trigger and an Action.
Zapier Triggers allows you to do an action when something happens.
Zapier Action is an action that happens when a trigger is activated.
## Open Actions
Create a new contact to be stored in your Open Dashboard.
Deletes a contact from your contact list.
Lists all your contacts.
Creates a chat session with a contact in any type of channel
Lists all chat sessions of organization.
Lists the history of a particular chat session
Make an AI phone call using your phone number created in Open
Send emails to multiple contacts, possibly with a time delay. To send emails using the API, you
must first verify the domain you want to send emails from. You can add and verify custom domains
in the settings.
## Open Triggers
Is triggered when a new conversation of any channel type starts
Is triggered when a new conversation of any channel type ends
Triggers when a conversation is handed off to a human agent. Note that a handoff event can
happen for multiple reasons; for example, a human agent might decide to take over the
conversation, or the AI might decide to hand off the conversation to a human agent.
## Steps for creating you first Zap using Open's Actions and Triggers
### Creating a Zap using one of Open's Triggers
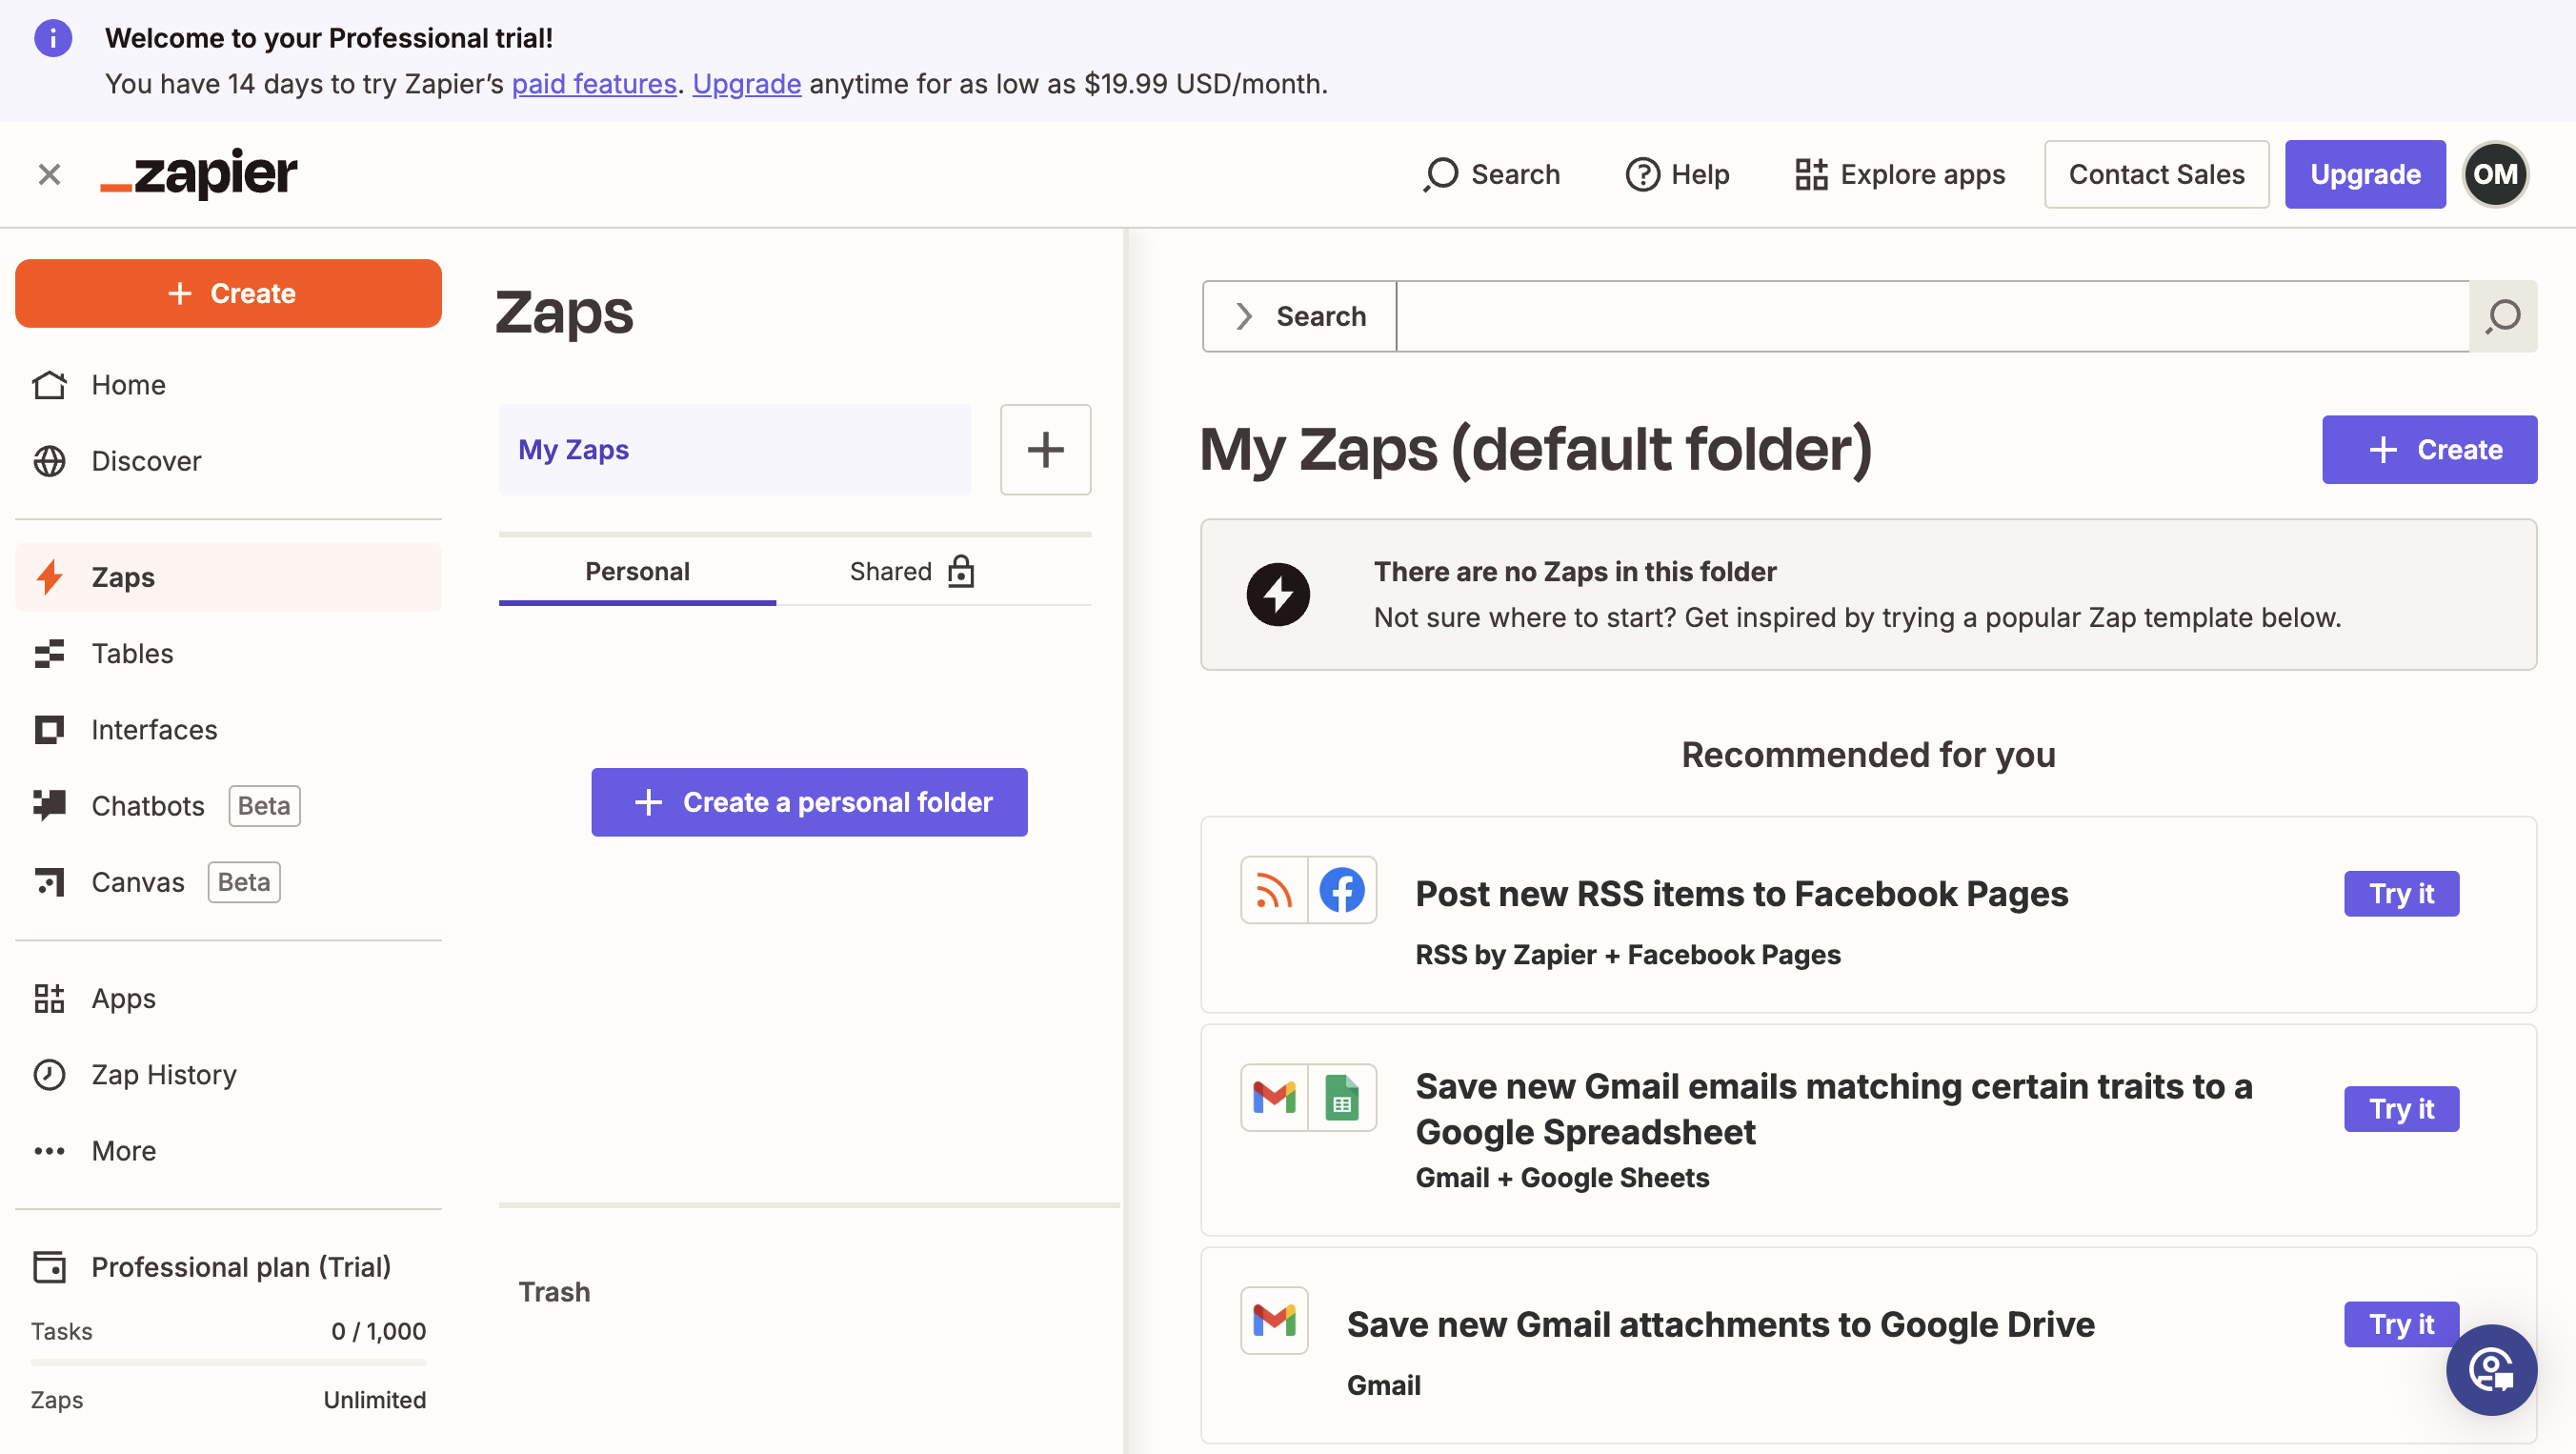 Firstly go to your Zapier Zaps Dashboard using [this](https://zapier.com/app/zaps) link, and signup if you do not have an account.
Click on the "+ Create" button on the top right to create a new Zap. The following screen should now be visible.
Firstly go to your Zapier Zaps Dashboard using [this](https://zapier.com/app/zaps) link, and signup if you do not have an account.
Click on the "+ Create" button on the top right to create a new Zap. The following screen should now be visible.
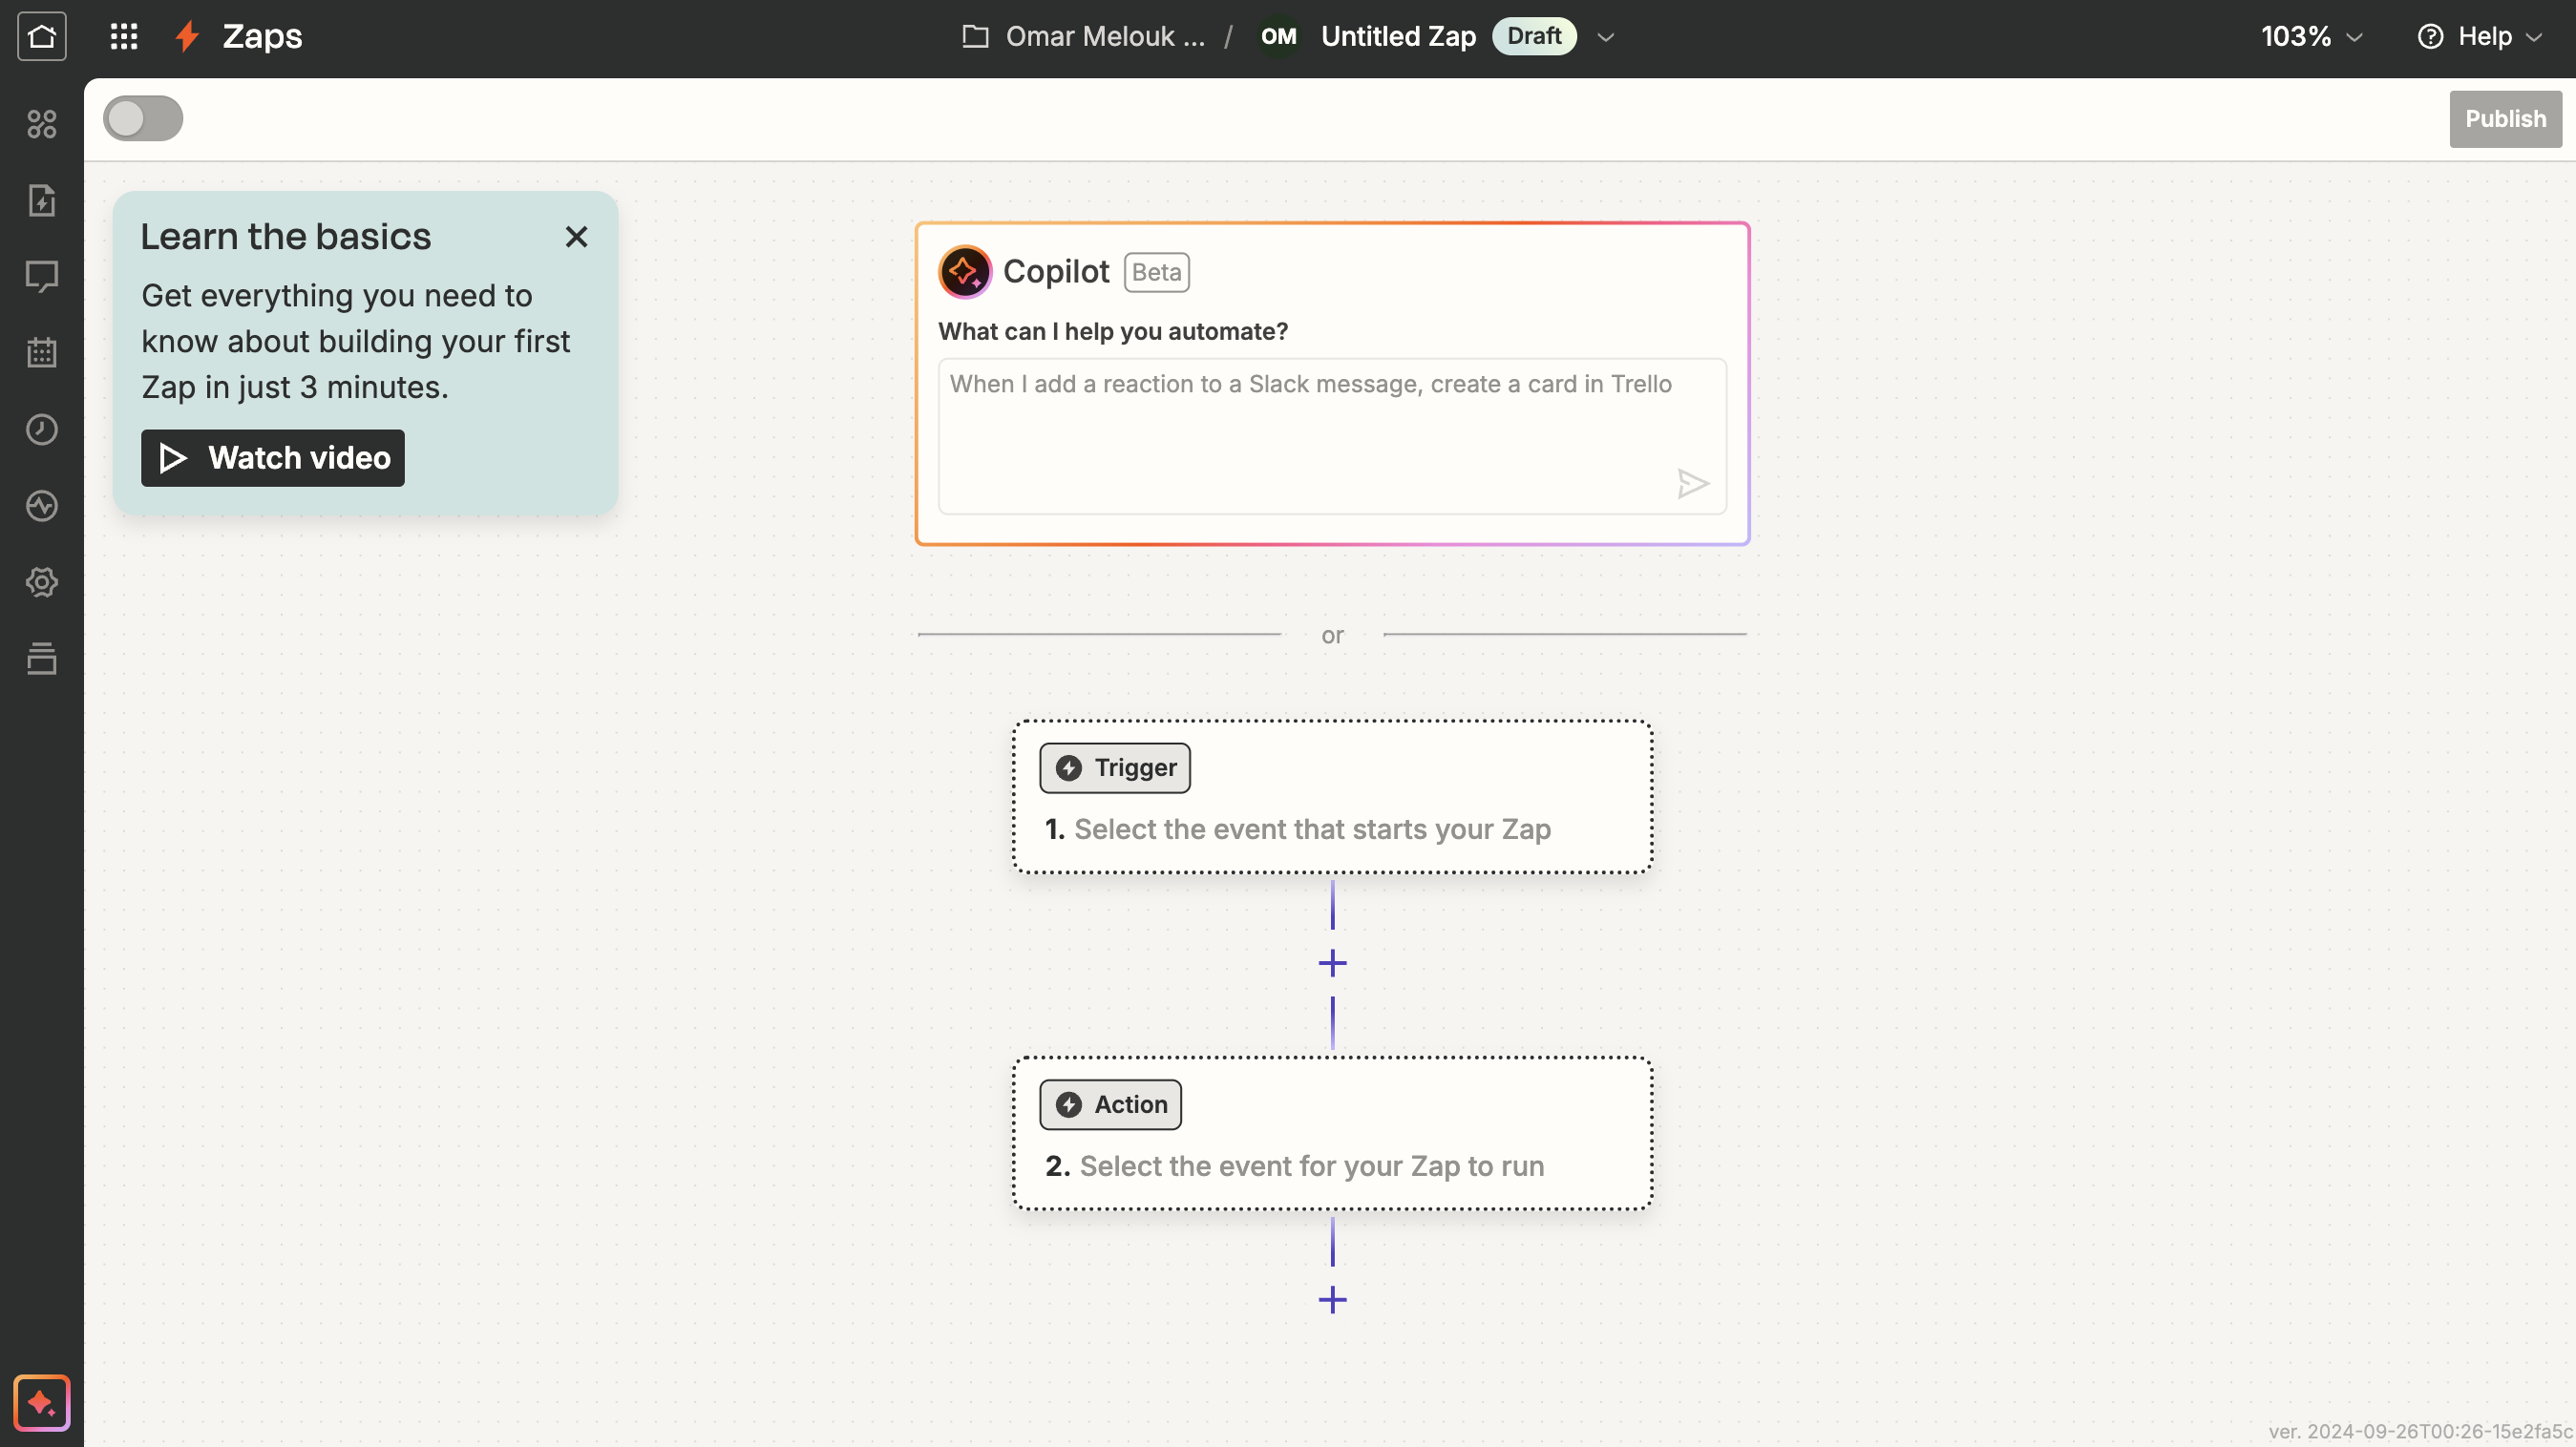 Press on the box with the title "Trigger"
This screen should now be visible.
Press on the box with the title "Trigger"
This screen should now be visible.
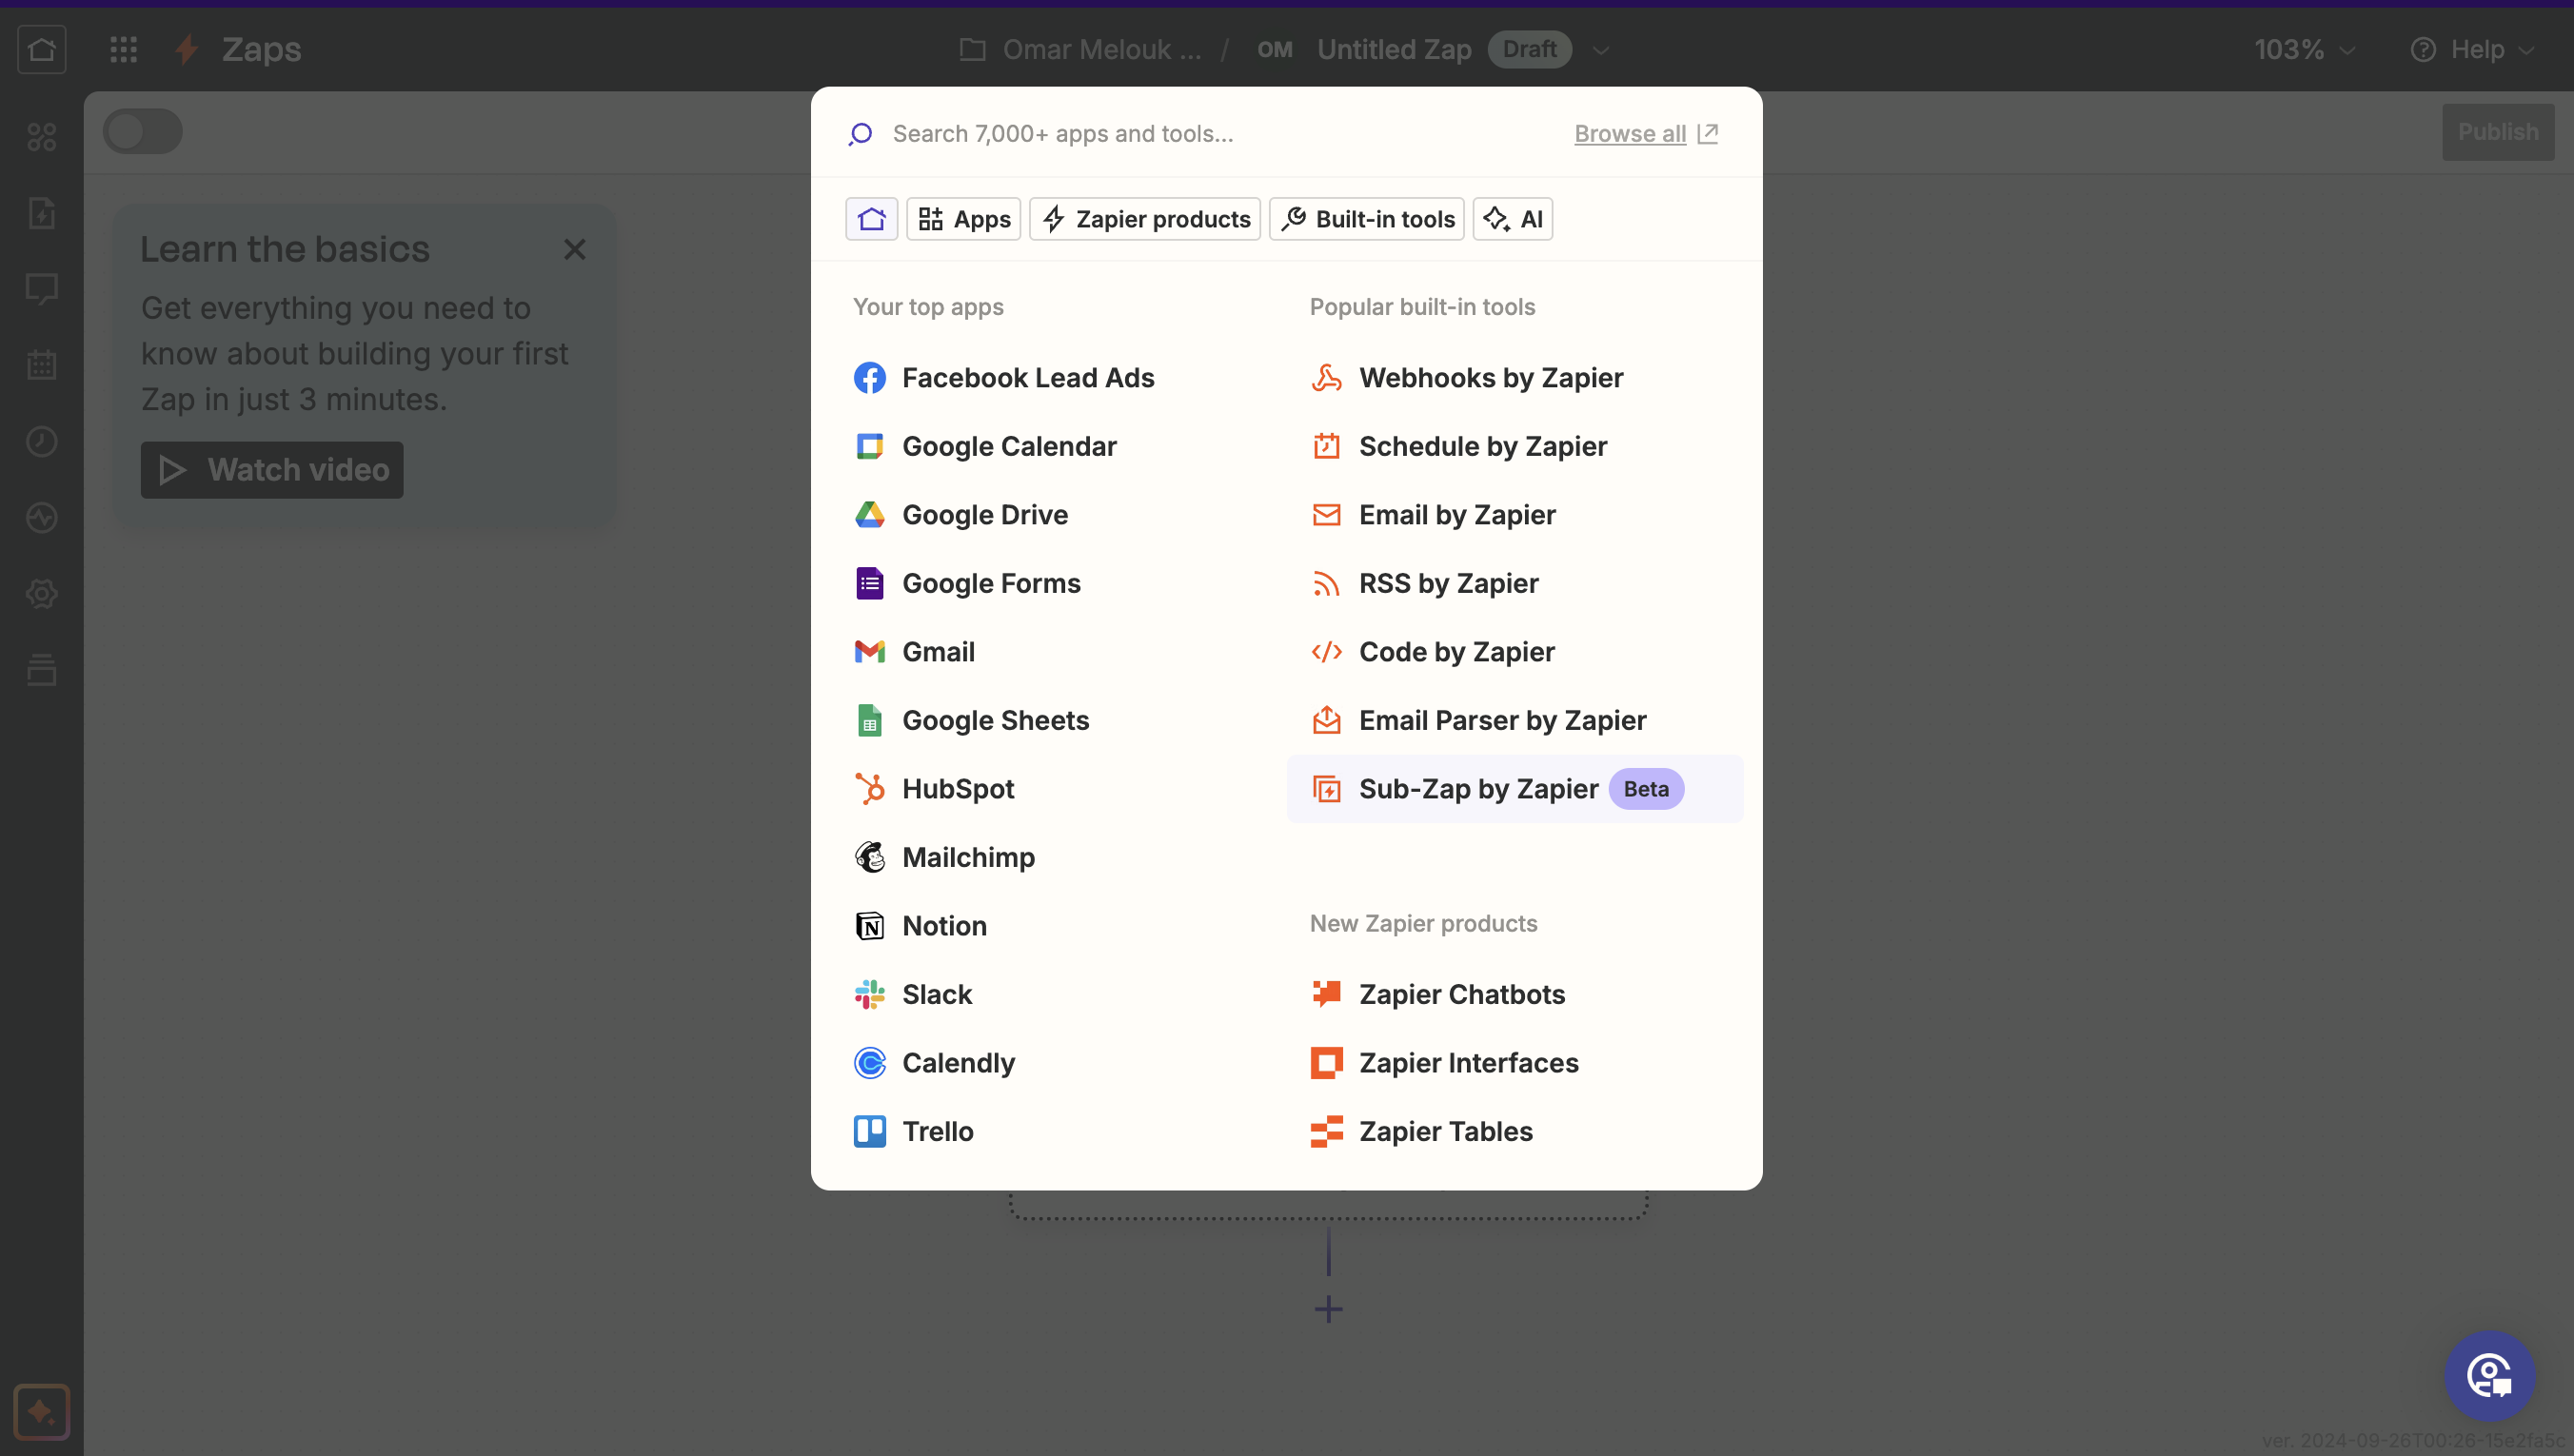 In the search bar type "OpenCX" and our app should be visible to choose.
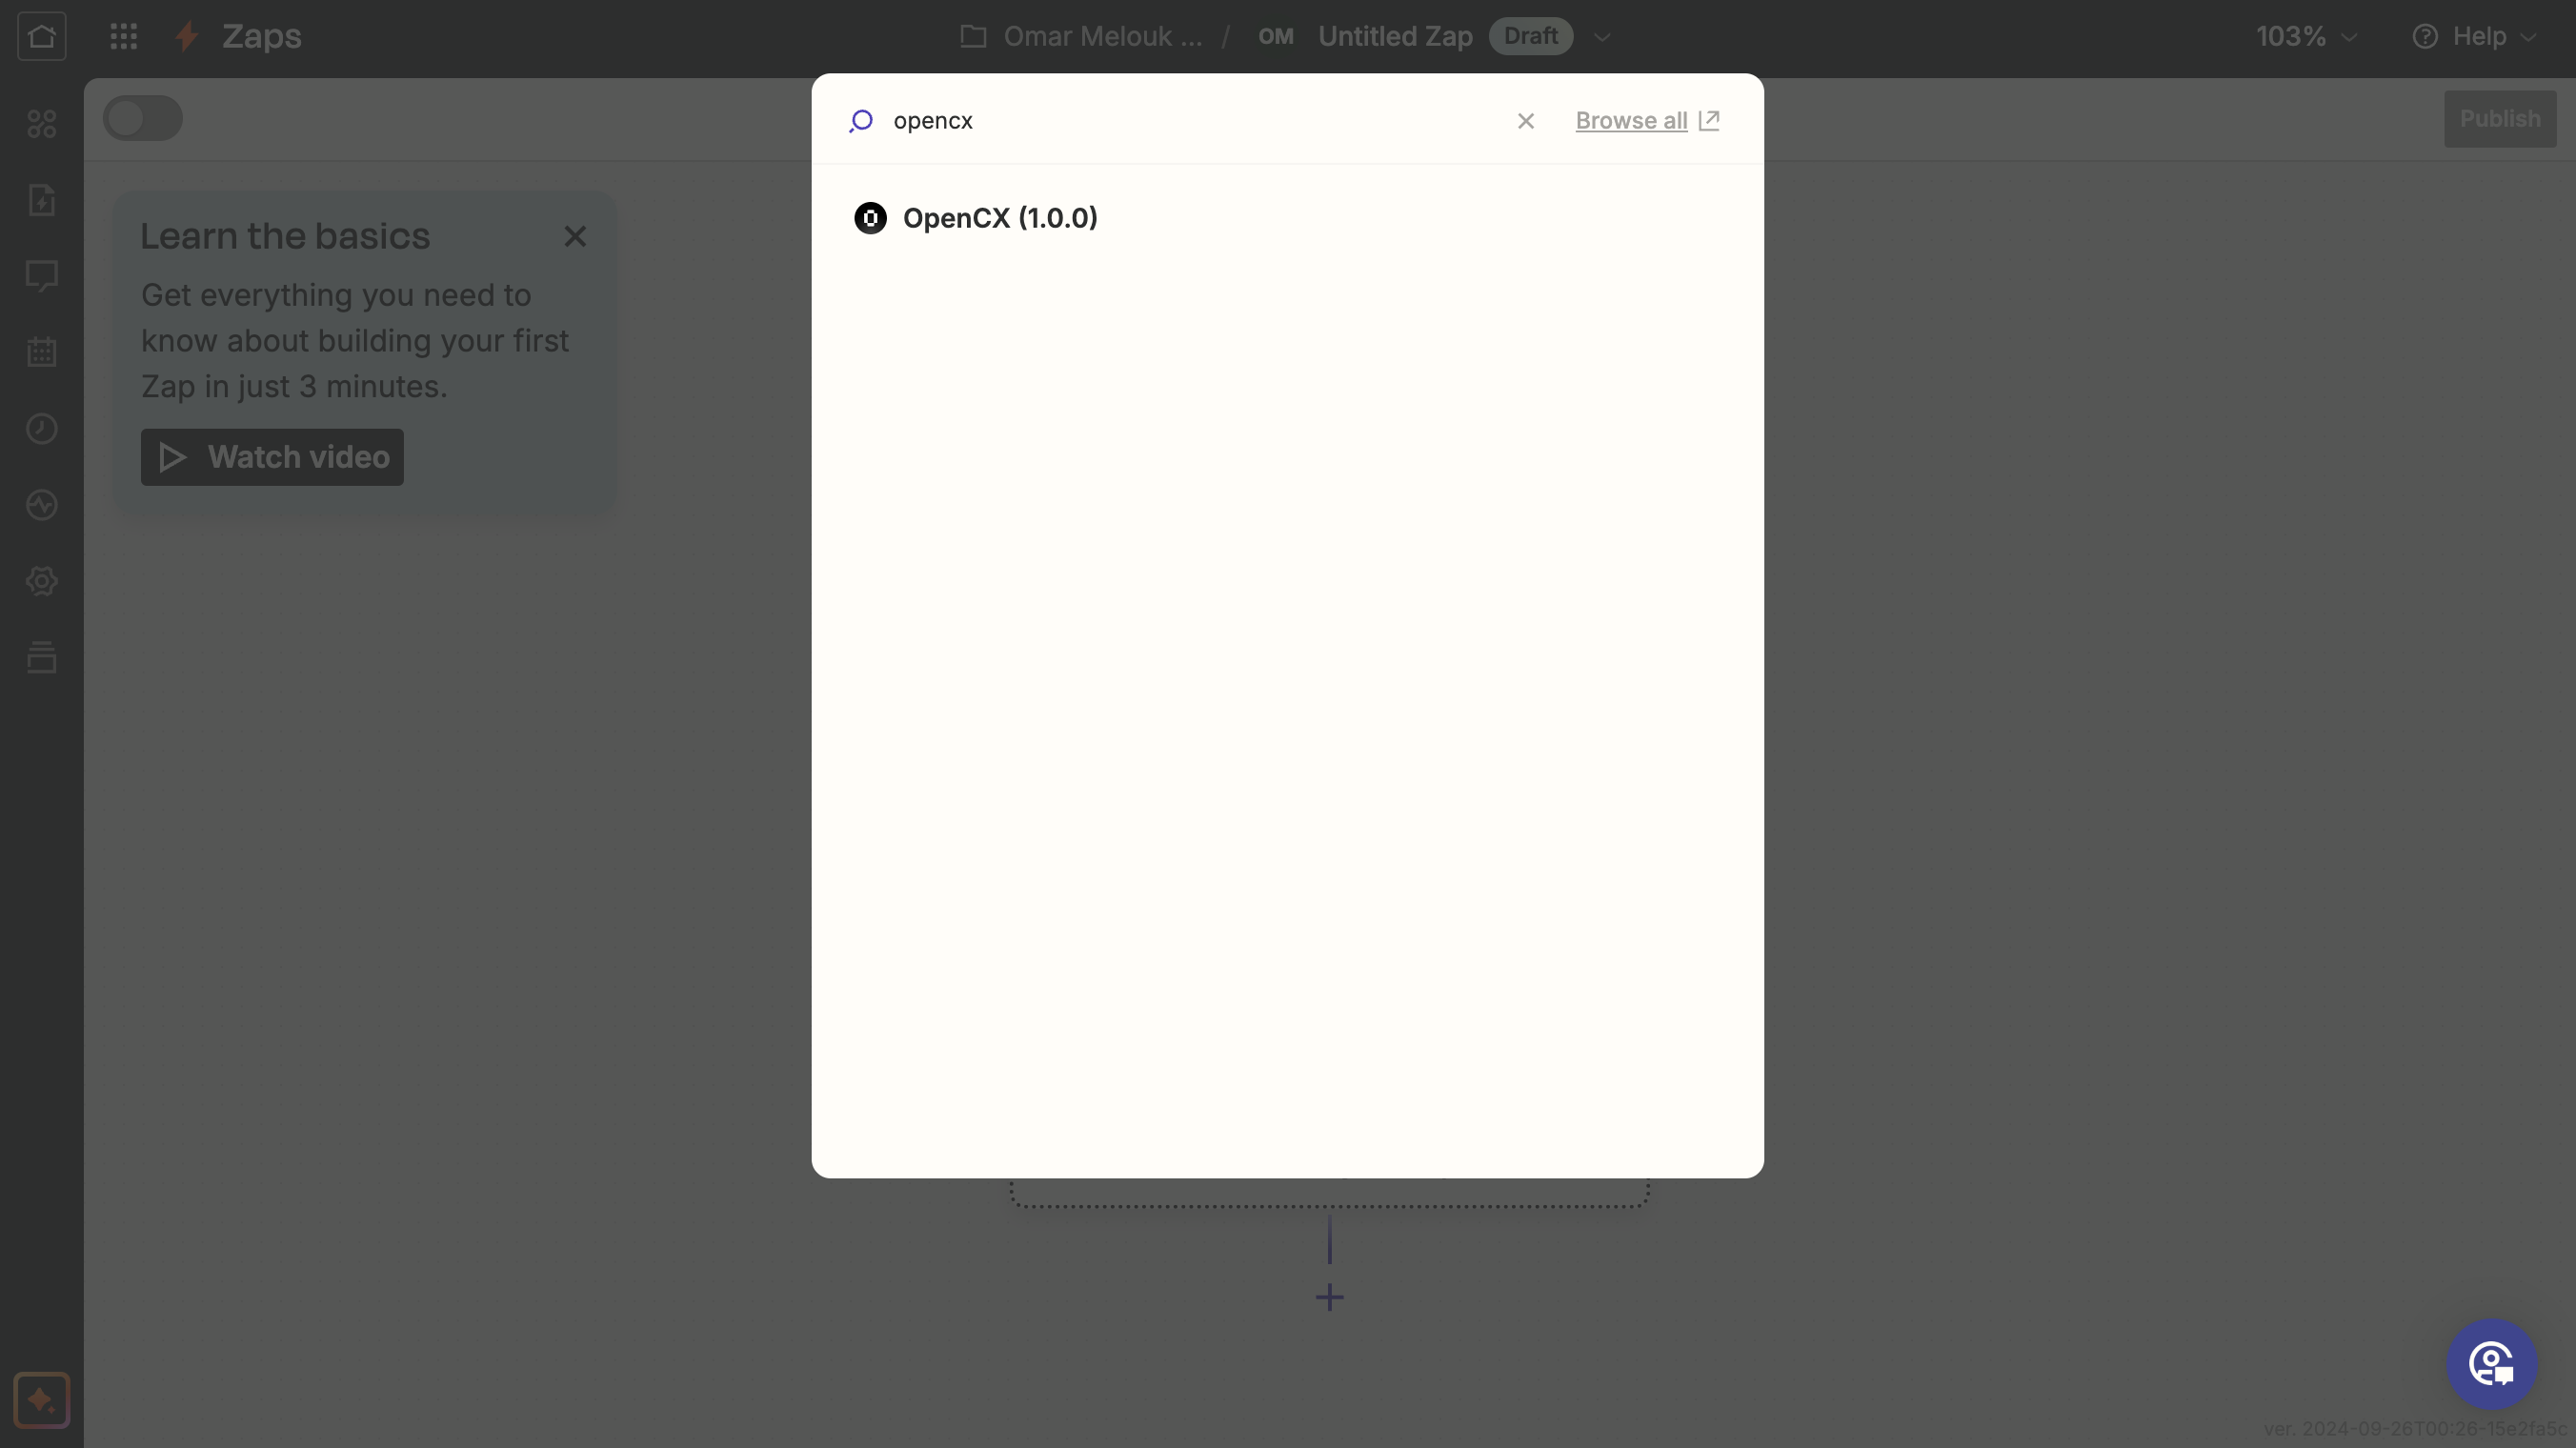 Choose this app.
This screen should now be visible.
Choose this app.
This screen should now be visible.
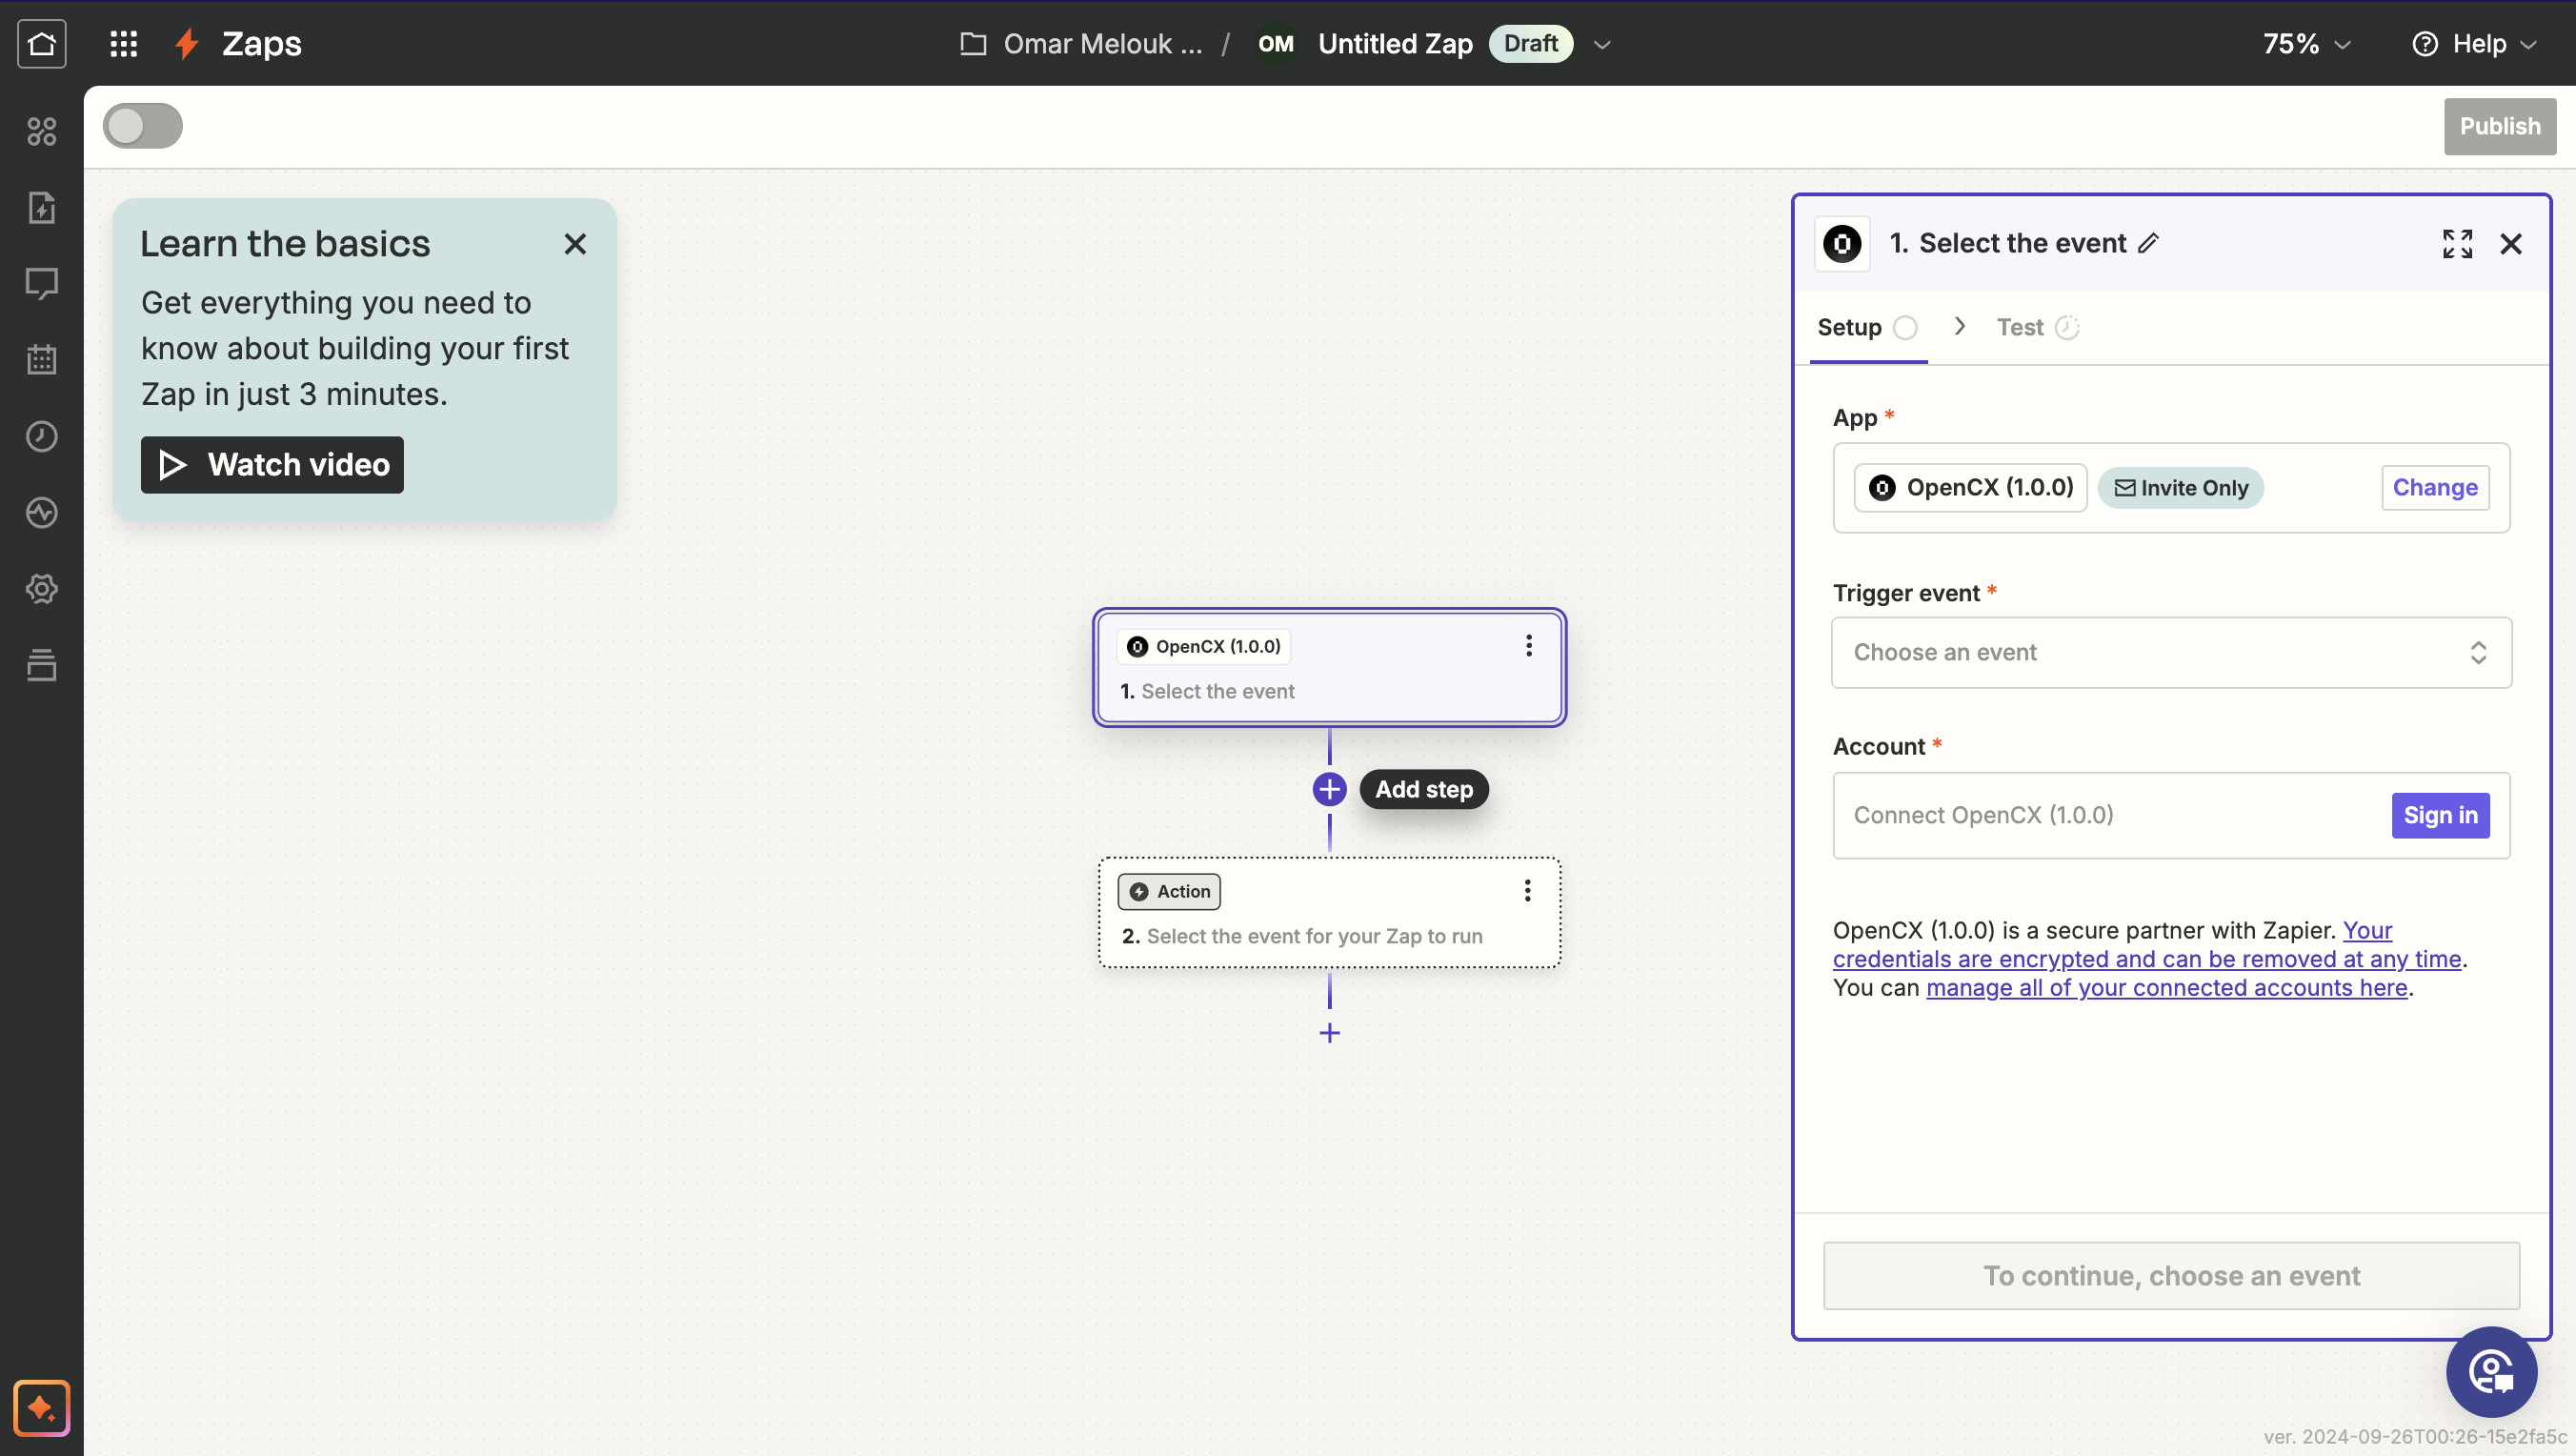 After choosing one of our triggers for this example we chose "Conversation Started", you will then press on the sign in button below to sign in using you Open Account so we can verify your identity.
You will then be redirected to this page
After choosing one of our triggers for this example we chose "Conversation Started", you will then press on the sign in button below to sign in using you Open Account so we can verify your identity.
You will then be redirected to this page
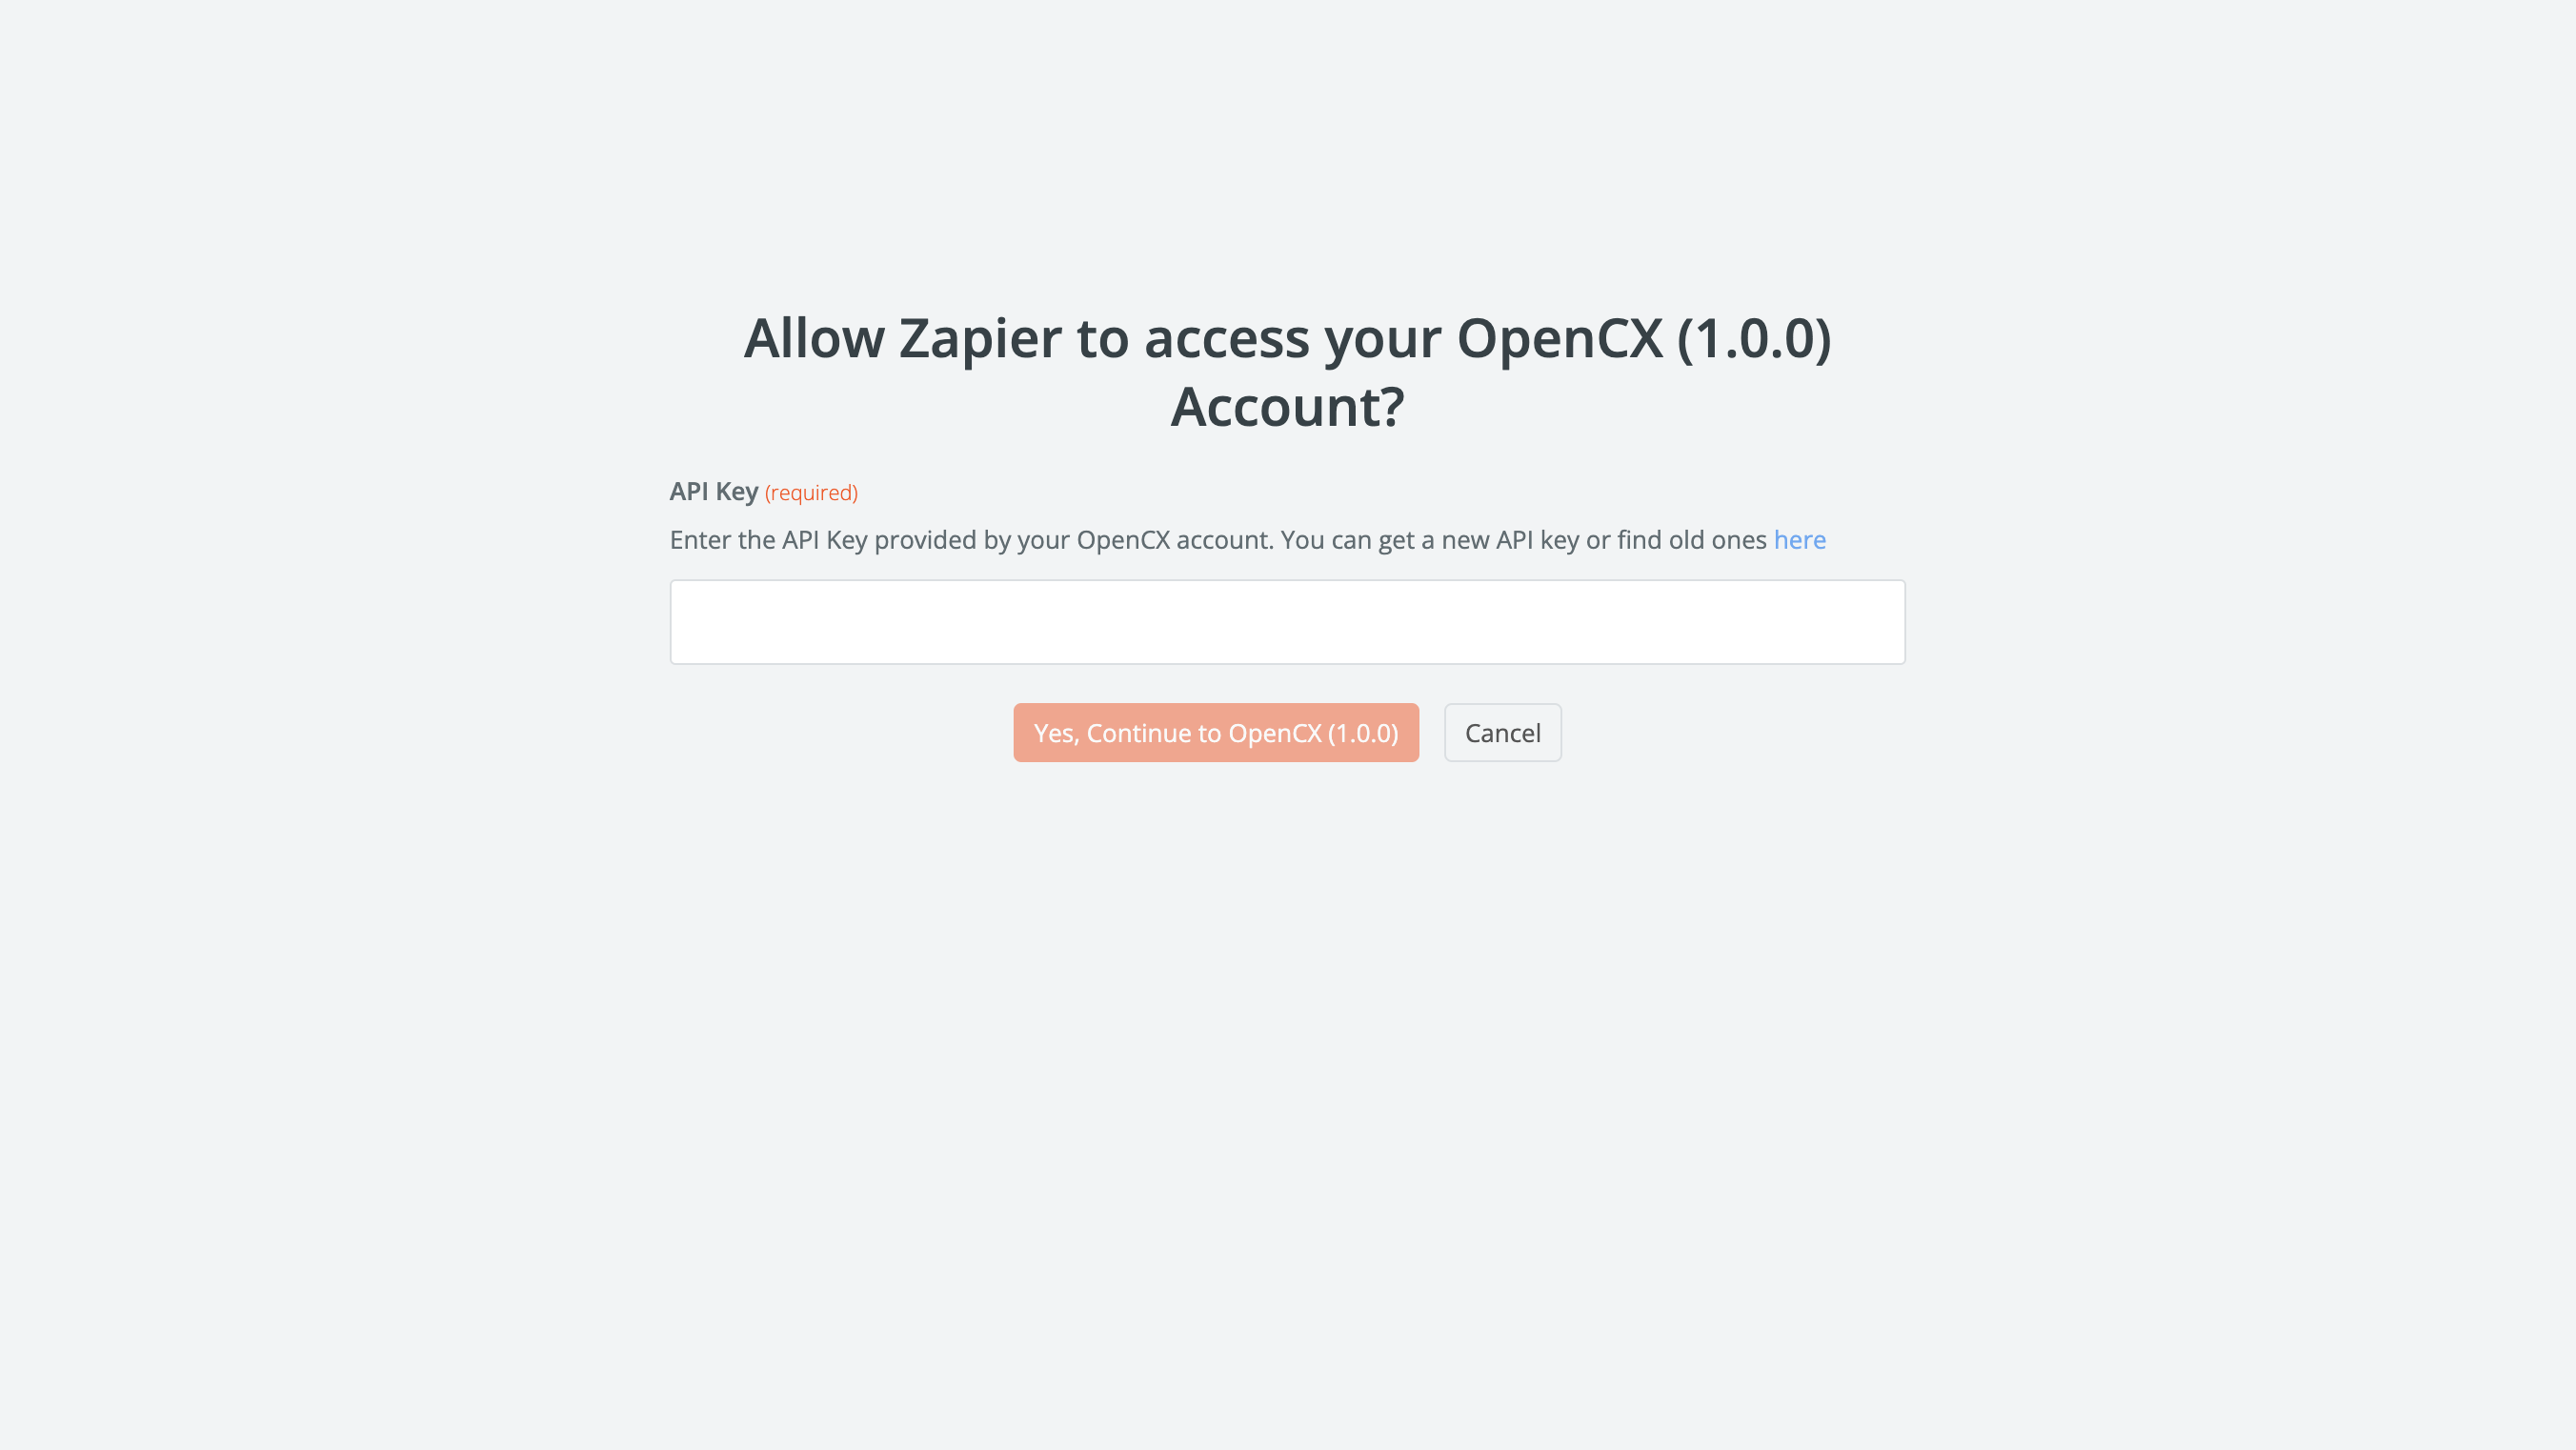 Here we request an API key that is connected to your OpenCX account. To get this API key, go to your OpenCX dashboard and open Settings.
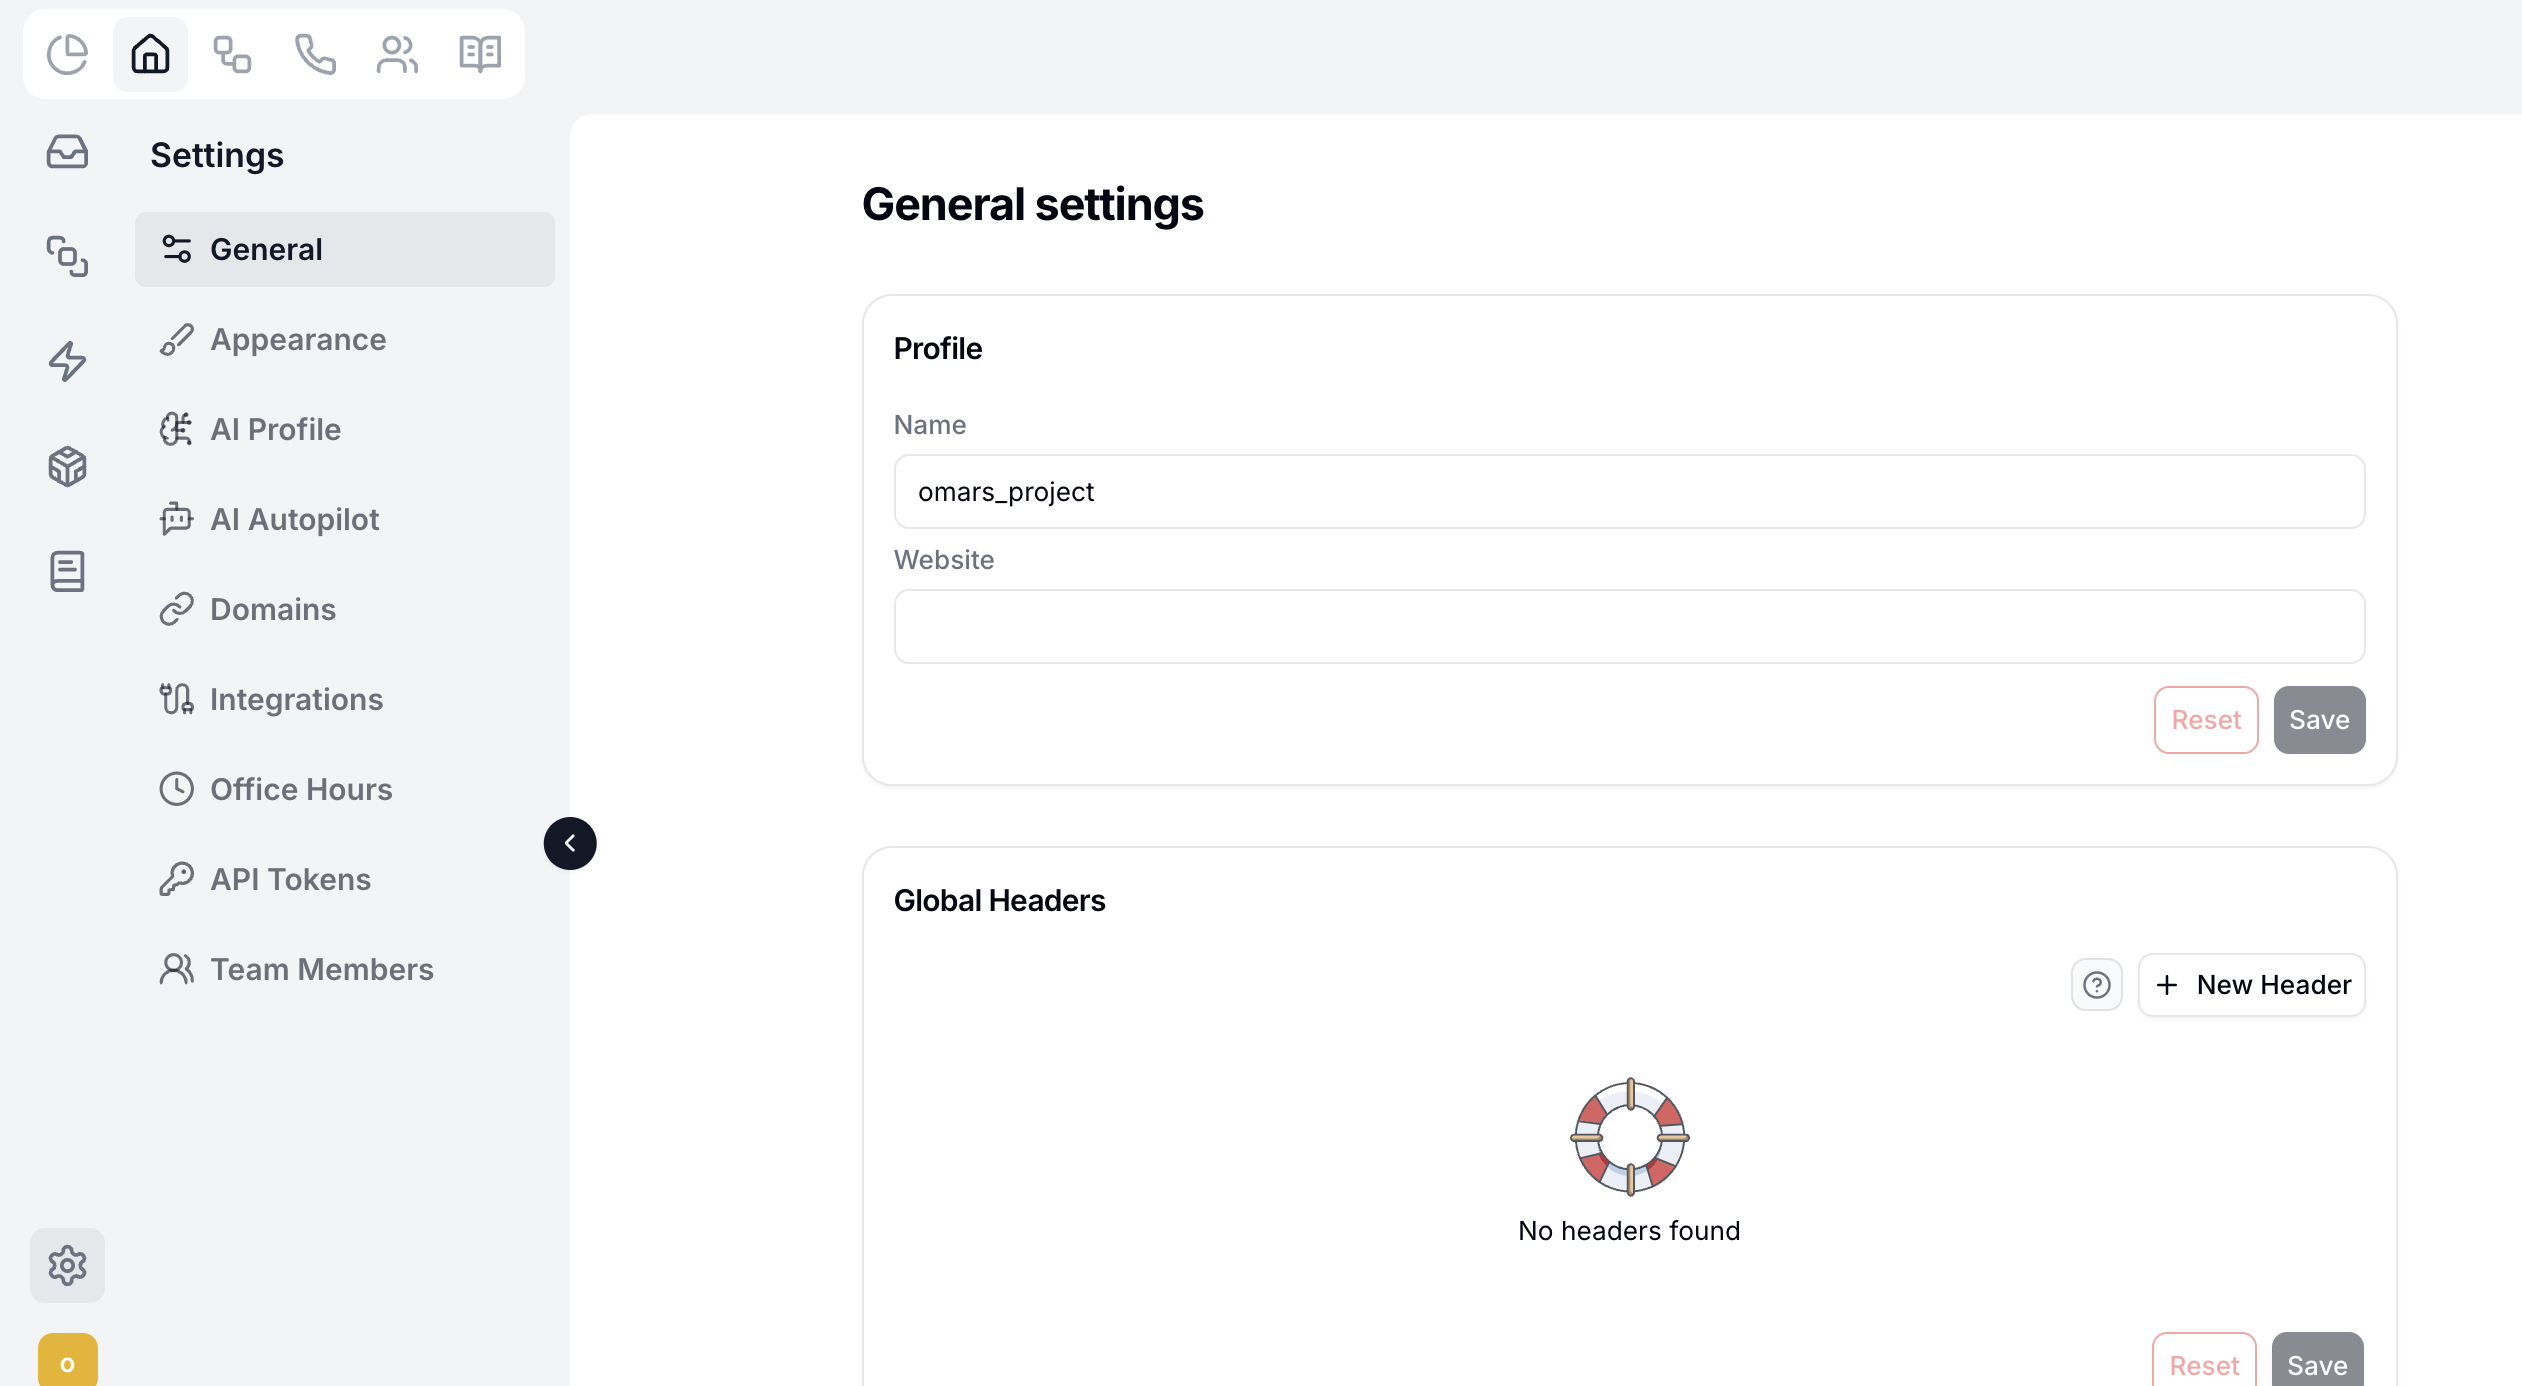 Then choose "API Token" from the left menu
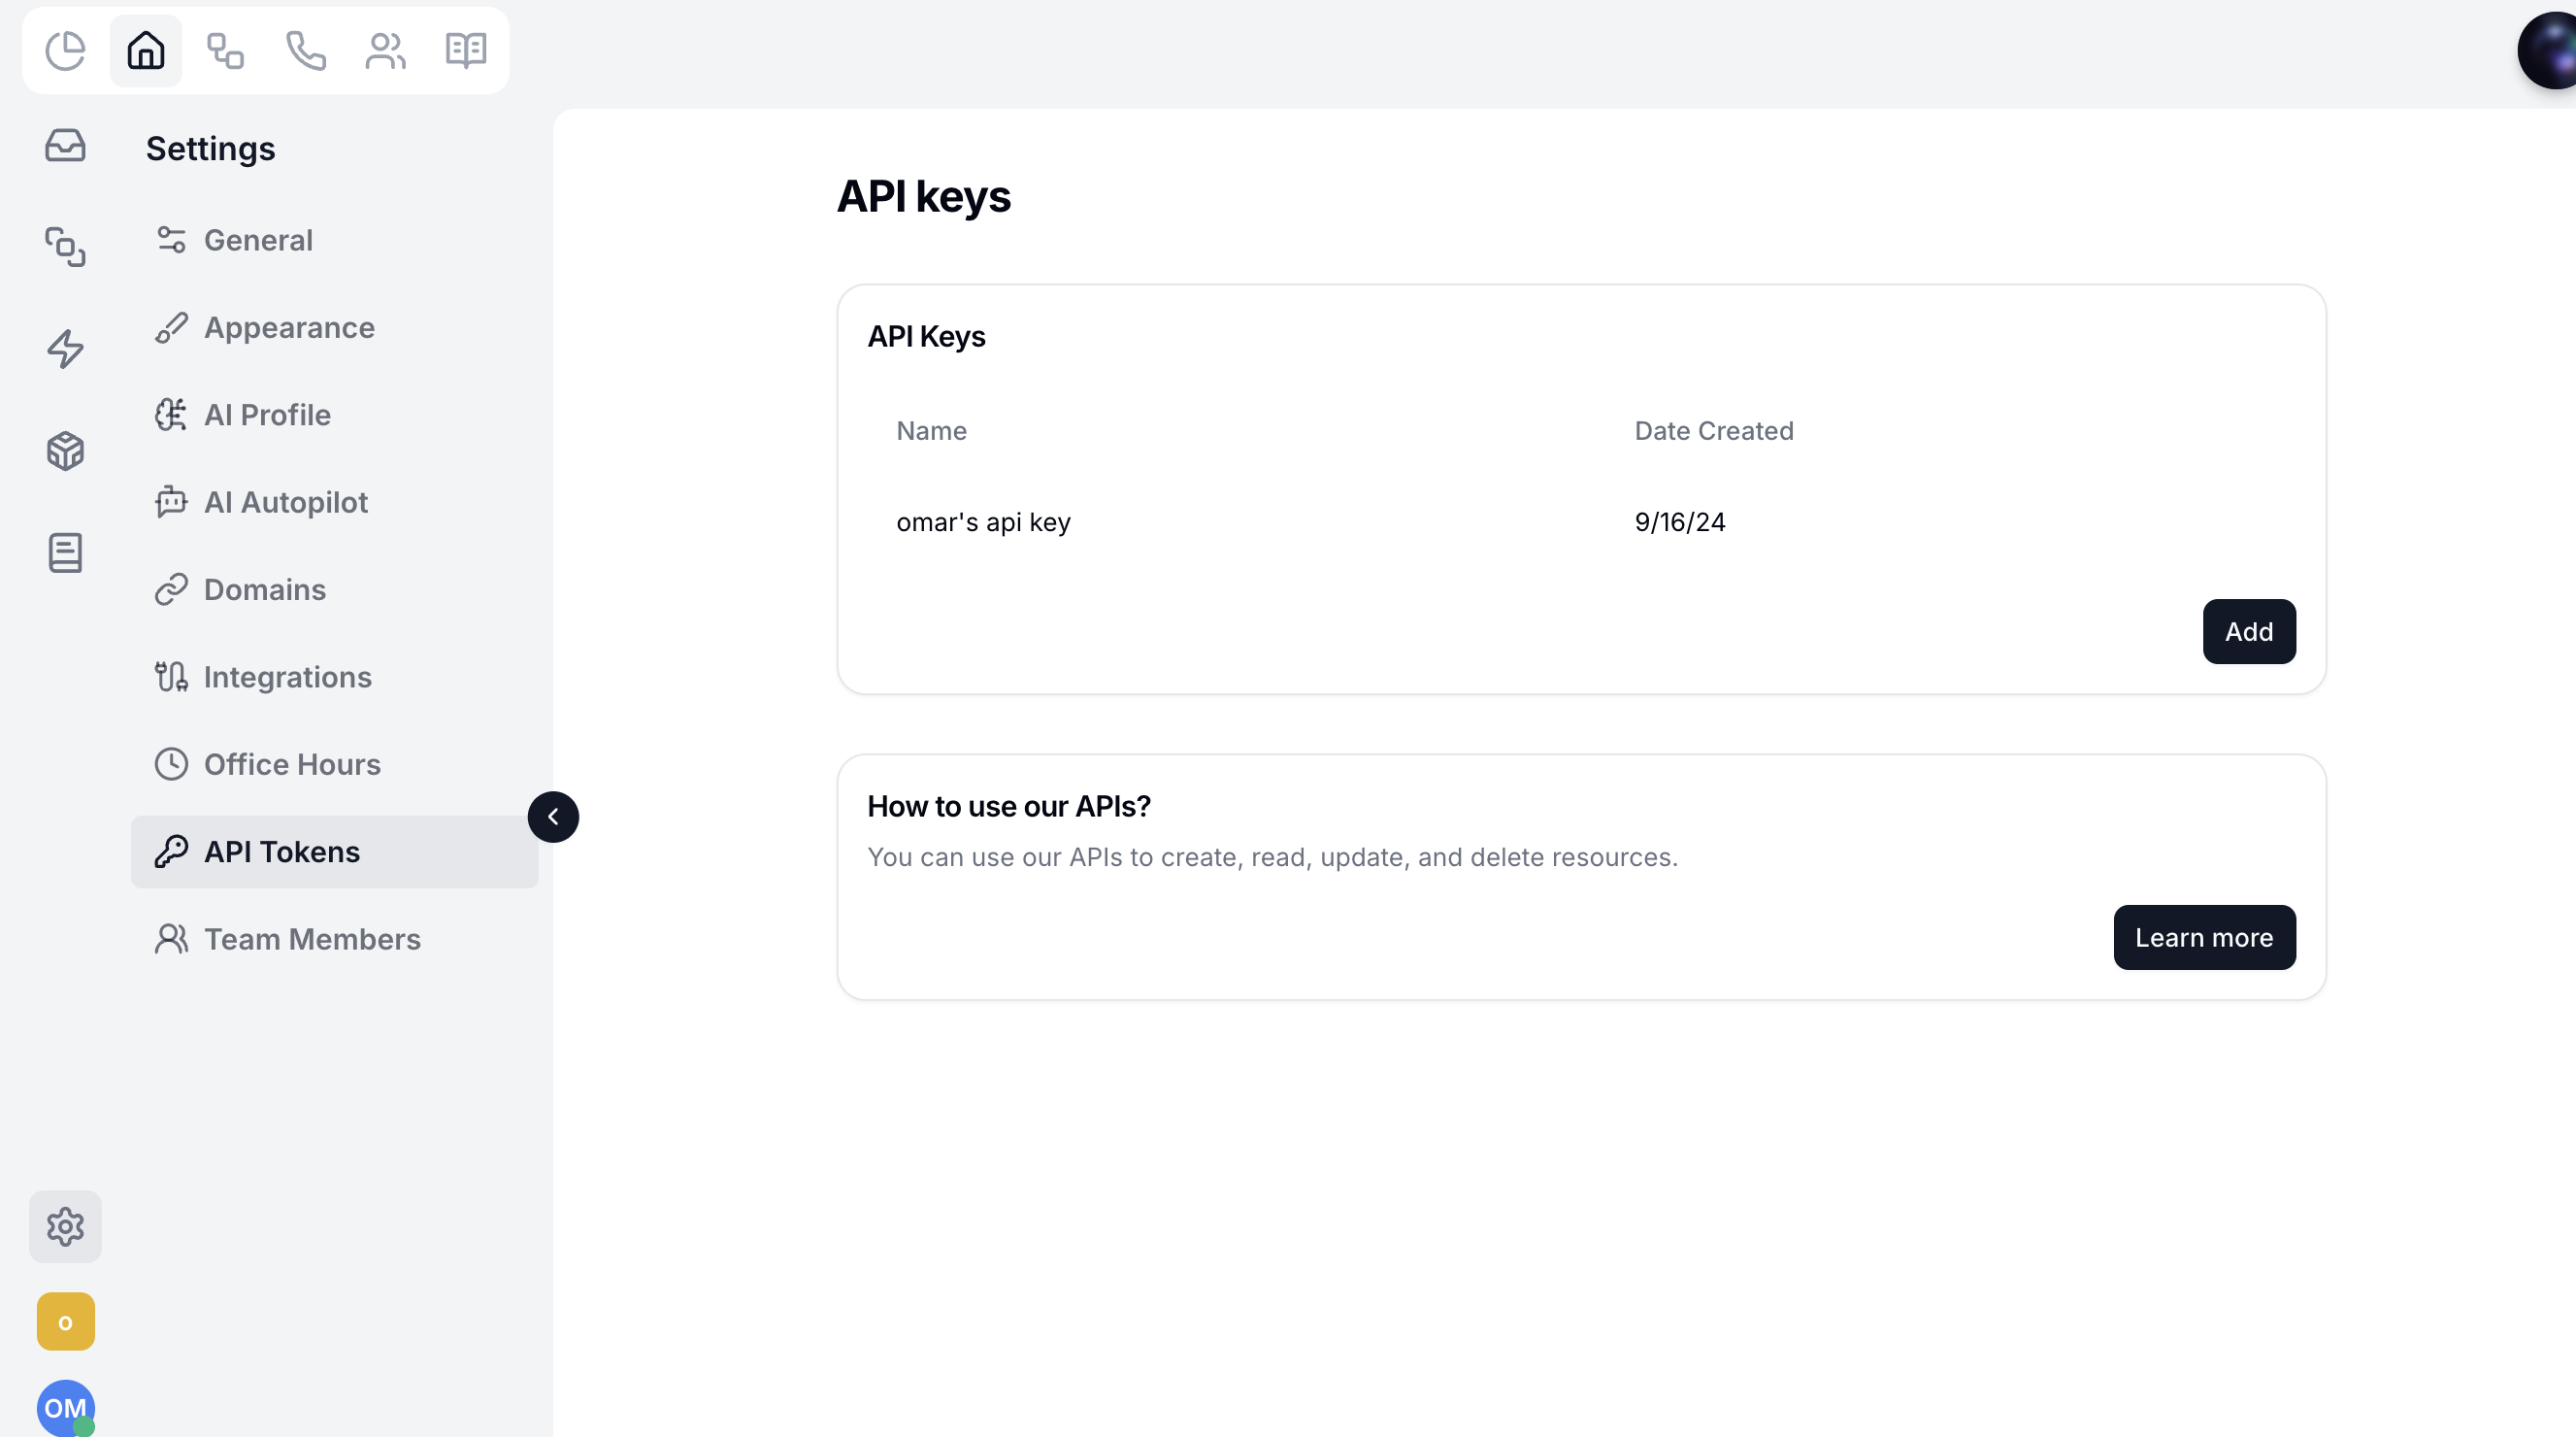 Press "Add" to add a new token, choose a name for this token. Copy the generated token and store it in a safe place, then paste it in the Zapier Login Screen like so.
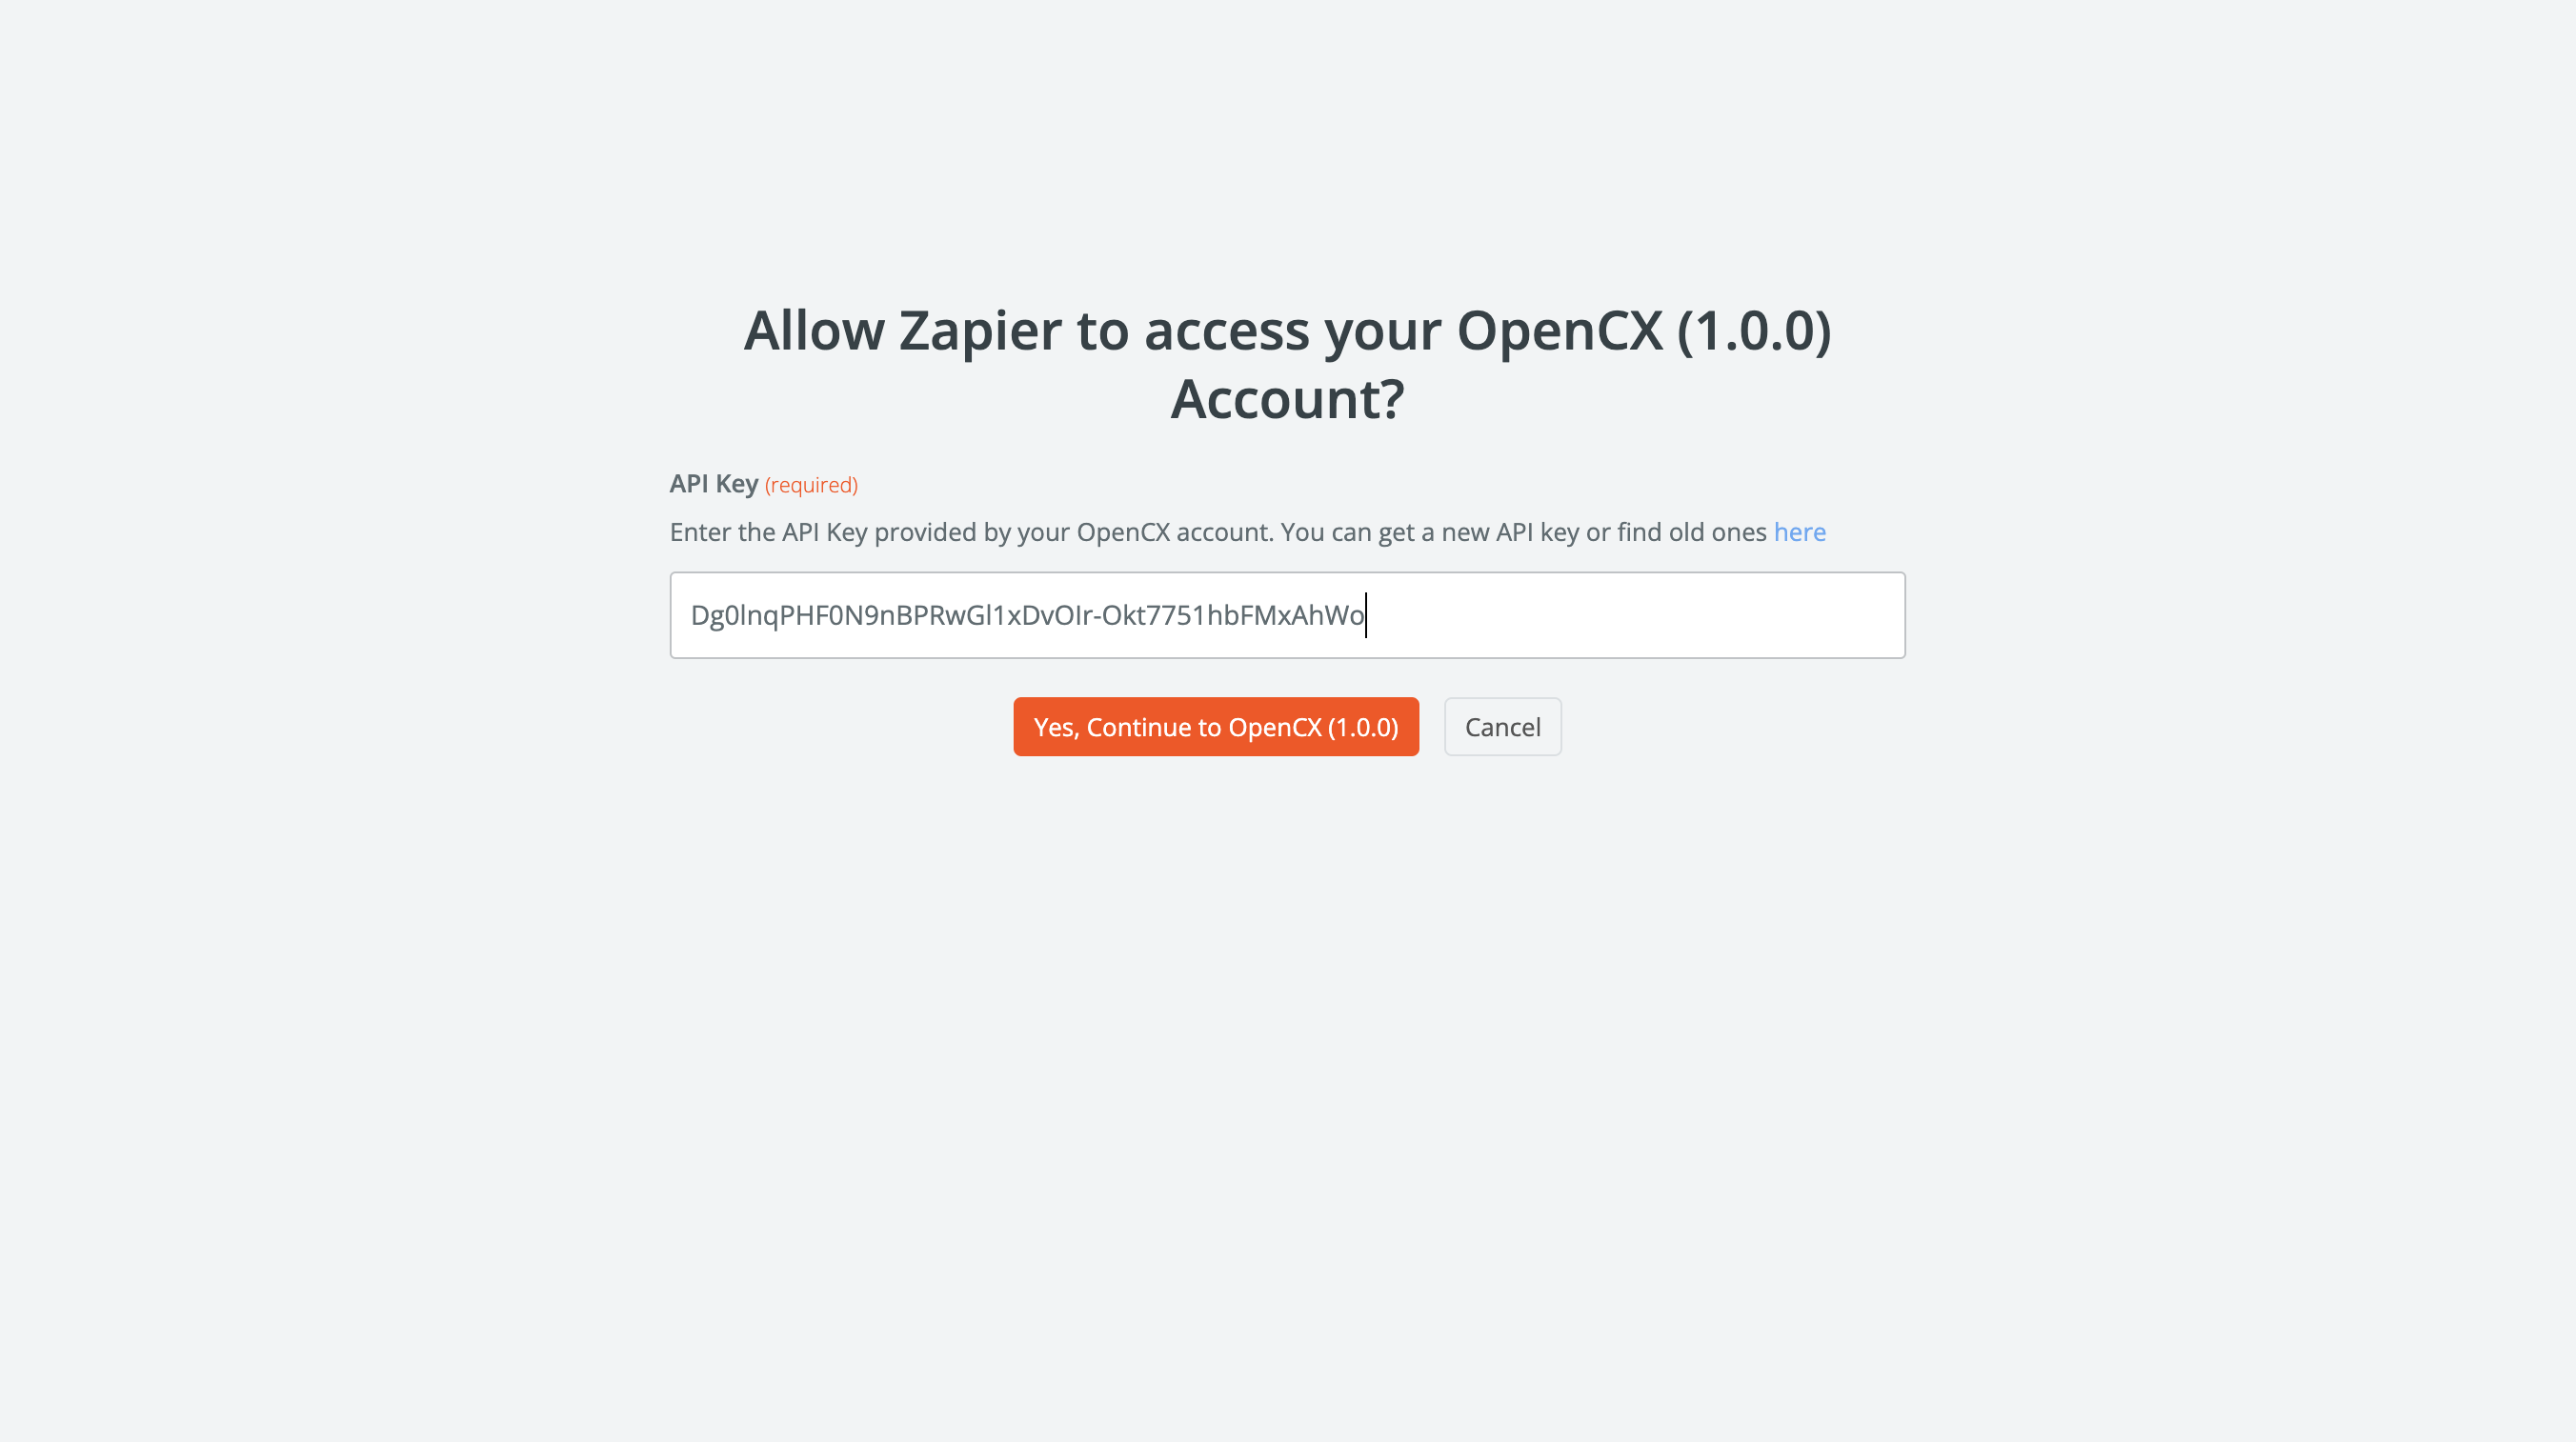 Then press continue and you will be immediatly redirected to your Zap.
Your trigger part of the Zap is now setup and ready!
### Creating a Zap using one of Open's Actions
For actions you will do the exact same steps as Triggers with the exception that you will be choosing Action instead.
Then press continue and you will be immediatly redirected to your Zap.
Your trigger part of the Zap is now setup and ready!
### Creating a Zap using one of Open's Actions
For actions you will do the exact same steps as Triggers with the exception that you will be choosing Action instead.